Tile roofs add a classic touch to homes, offering both beauty and durability. Yet, even the sturdiest tile roofs need occasional repair to maintain their effectiveness and aesthetic appeal. This article dives deep into the essentials of tile roof repair, providing homeowners with the knowledge they need to ensure their roof remains in peak condition.
When it comes to tile roof maintenance, many homeowners might feel out of their depth. But fear not! Repairing a tile roof doesn’t have to be daunting. Whether you’re dealing with cracked tiles, leaks, or just routine maintenance, understanding the basics can help you extend the life of your roof. Let’s break down the steps to effective tile roof repair, ensuring you’re well-equipped to handle common issues and can make informed decisions when hiring professionals.
Understanding Tile Roof Basics
Before jumping into repairs, it’s crucial to understand what makes tile roofs unique and why they require specific attention.
Types of Tile Roofs
- Clay Tiles: Known for their traditional red color, clay tiles are popular in warmer climates due to their ability to withstand high temperatures.
- Concrete Tiles: Heavier and more versatile in color and style, concrete tiles are a robust option for various climates.
- Slate Tiles: Slate offers a natural stone appearance and comes with enhanced durability and a higher price tag.
Common Issues with Tile Roofs
Tile roofs are praised for their longevity, but several common issues can compromise their integrity:
- Cracked or Broken Tiles: Physical impact or severe weather conditions can lead to damage.
- Underlayment Wear: The underlayment is crucial as it provides an additional layer of protection from water.
- Erosion and Debris Buildup: Erosion can wear down tiles, while debris like leaves and twigs can accumulate and cause water to pool.
Step-by-Step Guide to Tile Roof Repair
Addressing tile roof repairs promptly can prevent minor issues from becoming costly problems. Here’s how to tackle them:
Inspecting Your Roof
- Safety First: Always use a sturdy ladder and consider using a safety harness.
- Identify Problem Areas: Look for broken, cracked, or missing tiles.
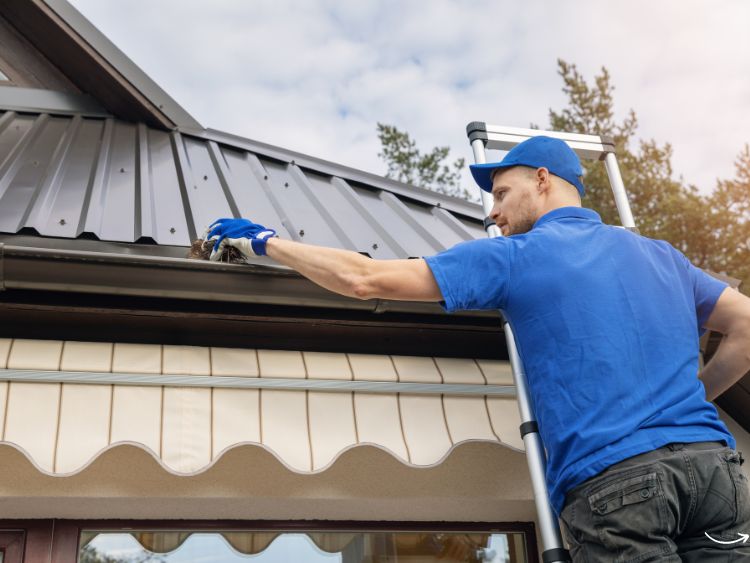
- Check for Debris: Remove any debris to prevent water accumulation.
Replacing Damaged Tiles
- Remove the Damaged Tile: Carefully lift the overlapping tiles and slide out the broken piece.
- Position the New Tile: Slide the new tile into place, ensuring it sits properly.
- Secure the Tile: Some tiles may need to be nailed or clipped, depending on their design.
Addressing Underlayment Issues
- Identify the Damaged Area: This usually requires removing several tiles.
- Replace the Underlayment: Cut a piece of underlayment to size and secure it in place.
- Reinstall Tiles: Carefully replace the tiles over the new underlayment.
Preventive Maintenance
Keeping your tile roof in top shape involves regular maintenance:
- Routine Inspections: Check your roof bi-annually, especially after severe weather conditions.
- Gutter Cleaning: Ensure your gutters are free of debris to avoid water back-up.
- Trim Overhanging Branches: This reduces the risk of physical damage and debris accumulation.
FAQs About Tile Roof Repair
Q: How often should I inspect my tile roof? A: It’s wise to inspect your tile roof at least twice a year and after major storms.
Q: Can I walk on my tile roof during inspections? A: Walking on a tile roof can cause damage. It’s best to use a ladder to inspect the roof or hire a professional.
Q: How long does a tile roof typically last? A: With proper maintenance, tile roofs can last 50 years or more.
Summary
Tile roof repair can be straightforward if tackled promptly and with the correct knowledge. Understanding the specifics of your tile roof, routinely checking for damage, and addressing issues quickly can vastly extend the life of your roof and enhance your home’s overall value. Remember, when in doubt, consult with a roofing professional to ensure your roof repairs are done safely and effectively.


